Monday, September 26, 2011

Back Home form Wyoming


    We got back Thursday night around mid night. Long long flight from Salt Lake  to Atlanta. On the way out there we flew from Fayetteville to Atlanta to Minneapolis/Saint Paul then into Billings Montana. A little different route on the way back we flew from Billings to Salt lake and then to Atlanta. Took about an hour longer , just seemed like four, really hate to fly commercial. Funny the last plane I flew in before this trip, I jumped out of, yeah its been awhile .
    Had a great trip, fished a little, caught a few fish , saw a lot of great country. Here are some pictures :
My Father in law fishing Lake De Smet Buffalo Wyoming.

Here is the first fish I caught in Wyoming. This is the first Red Eyed Bass
(Rock Bass)  I have caught. Funny had to go all the way to Buffalo to catch it.
This was on Lake De Smet .


Here I am getting ready to fish below the Dam on
Sibley lake in the Big horn mountains.
Sneaking up on the brookies in this small tail race

Caught this little Brookie Prune Creek just beyond the dam on
Sibley Lake .

This is just down the creek from where I caught the Brookie,
a beaver pound, I caught a nice Brown trout here . Didn't get a picture
So we're going to say it was a whopper ...lol


This is the South Tongue, Missed one and that was all she wrote.
But only fished a little while. My back was killing me by then.

Will post more Pics later have to sort through them all . We had two digitals and did what we could to fill up both 8gig cards. 

Monday, August 29, 2011

At the Bench Today

I got back to the tying bench today , I have been remiss in my tying. Since the trip to Wyoming is coming up fast thought I had better get busy. I was looking through the apps for my new phone and found one that is a little booklet on Nymphing. So  I downloaded it , it is a pretty good app. It is called Buzzer Fly Fishing, here is a link to a little write up about it. http://blog.theessentialfly.com/flyfishing/new-buzzer-fly-fishing-mobile-app-released/

Any way back to the bench I liked  the flies that he had tied. I know that most of the feeding that fish do is below the surface, and I like anyone love to see a top water crash of a fish nailing your dry fly. But realistically I fish more wets than anything so I am always interested in new flies. These are Midges in the larva stage and pupa stages. These are in the water all the time with the fish , so they are used to seeing and eating them. These are not new but are rather new to me. So here's what I came up with:

These are all un-weighted to allow them to fall very slowly  to the
 bottom. Should be fished in very slow water or lakes. 

Blank Buster Buzzers plus a couple of Emergers
and a couple of  Spiders

There are four Emegers  between the spiders and the buzzers
two with rainbow crystal flash and two with glow in the dark
Flashabou 

The Buzzers use Fluorescent Embroidery thread which acts as
 a trigger point.


Under Black light to show the glow in the dark Flashabou


The Spiders are basically a buzzer with a hackle tied in wet style. The
black thread doesn't go as far down the hook shank.


You can see the ribbing here, this is done with the same flat nylon
thread used as the body, but it is twirled into a round thread then brought
back up the body plamer style to create the segmented body. 

I will probably go back and tie up some blood worms and some bead heads also. So that's it for now but will post up any others I tie later.

Sunday, August 28, 2011

Custom Rod Blanks

Steve over at Custom Rod Blanks has been in the fishing and rod building business for over thirty years.With  his many year of experience with sport fishing, he shares his knowledge of where to buy, how to repair and how to build custom fishing rods. Plus, much  more. Here is a link to his site :http://www.customrodblanks.com/customrodbuilder.html  Check it out , he has a lot of good products at good prices. I also added this link to the favorites at the right.

Thursday, July 21, 2011

Finished Six Piece Fly Rod

I got 2 coats of epoxy on the rod and in the turners. Not much to do now but let them go until cured..


 Here is my set up for applying the epoxy and drying the rods.I have a 6 rpm drier from http://www.okierodbuildingtools.com
the turner I use to apply the epoxy is home made . I took the motor out of my BOHNING Pro-Model Arrow Crester it is a 300 rpm motor. The chuck I use for the rod handle is a piece of pool noodle, for multi-piece rods I use the rubber gasket type that comes with the motor.
 Got the AC running in the back room, so it cooled it down. Did keep it set low to keep it above 70.
Here you can see the rod parts in the respective turners. The one from Bohning is a little noisy, but I just close the sliding glass door to the back room and it was good to go.


 This is the rod sock that came with the original rod. Let me back up a bit. I built this rod to replace an an identical rod that I broke during a kayak smallie trip on the New River in NC. My wife had given me this rod for our anniversary. She said that I needed a travel rod to always go in the suit case were ever we go. So this one was great, it is 18 inches long, and in the case it is only 21 1/2 inches. So it fits in the smallest of duffels or suit cases.
This sock is made of the same material as Frog Toggs I believe.
 I have the rod matched up with a Greys GRXI #516 reel. Really like this reel it has three extra spools that snap in and out to make line changes a snap.
 I think the reel seat looks sharp with the trout on it, and the cage.
 Here is my take on the Cabelas Stoaway6. A 6 piece 6wt travel rod.


As you can see very compact.


The tip got a little thick with the epoxy, but its ok .


I received an email from Mud Hole last night that the guide set that was on back order for the rod I am making my Father-in-law , came in and should have gone out yesterday. So I should have it in the next day or so , and will get back to that rod.  Can't wait to try them out in Wyoming , on the trout, in Sept.

Saturday, July 16, 2011

Paddled Rhodes Pond today

Sharon and I took the Kayaks and Bella the Swamp Dog, over to Rhodes Pond today . We had a good time, it is always such a nice place to paddle.Today it seemed that everyone had the same idea. When we got there the parking lot was full of vehicles with kayak carriers on top. plus a couple of trailers. Several big groups were paddling today. it didn't matter there's plenty of room back in there. Here are some shots from today.

Tuesday, July 12, 2011

Cleaning Up Our local Lake

This past Saturday the 9th of July , we had a clean up of our local lake. This lake is the only public fishing area except for the river in our area. It can get to be quite a mess , not so much from the people who fish there but all the other elicit activities that go no there. It is nothing to find the parking lots full of beer bottles , used condoms, or hypo needles. We are working with the city official to try to get the illegal activity out there controlled. But untill then we will try to keep the area policed. We hold a bi-annual clean up with other organizations, but the FAAN members  pick up trash every time we go out there on our own Here is a slide show from this past event.


Tip Tops and a New Blank

You can see a section of the rod blank on top of the box.
Hey Cabela's kill any trees lately.

    My Tip Tops and the blank for the 6piece fly rod, I am building for my Father-in-Law, arrived last evening. It was funny , the size of the box that they came in. The rod blank was only 19 inches long , the only other thing in the box was 2 rod tip tops and a magazine that Cabelas is putting out. I guess they are making enough they can afford to have a little over kill in there packing department. I will say that they were fairly quick in getting it to me. So on with the rod building.


    I still had the Tip Top to install on my rod. I did that this morning. I used fletch tight hot glue stick to secure this. I think on the next one I will use the same epoxy that I use to glue the reel seat and the handle. Once I had the tip top glued in place I wrapped up to it and added the silver spiral wrap. I will wait to do the epoxy until I have both rods ready to finish.

   
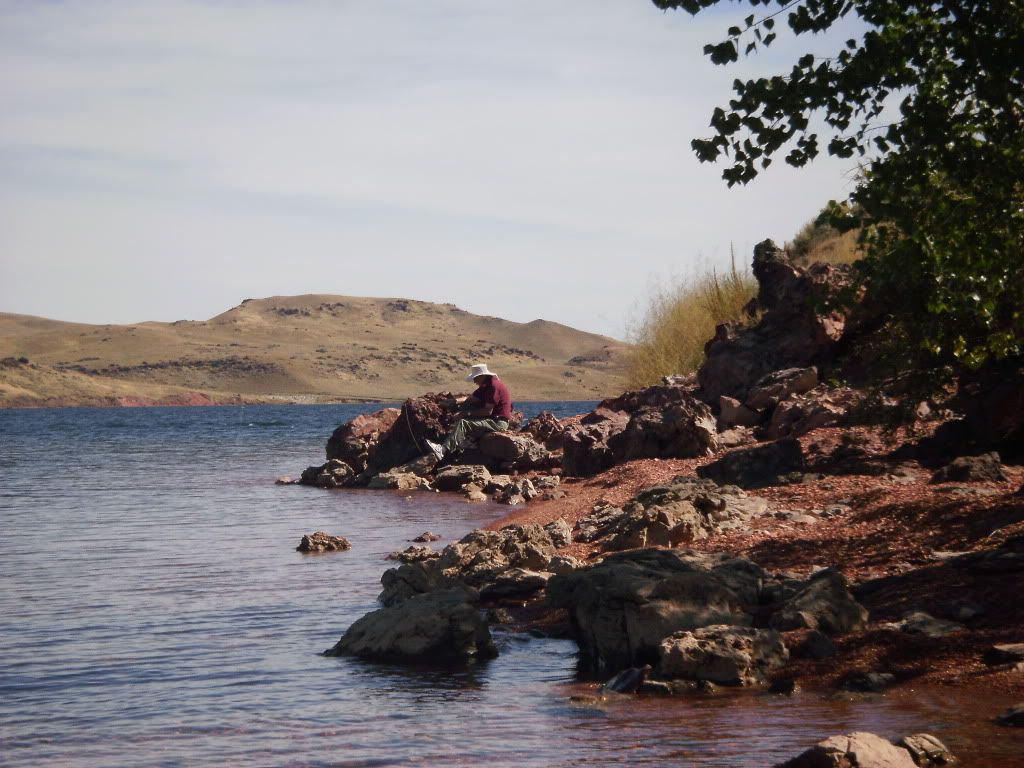
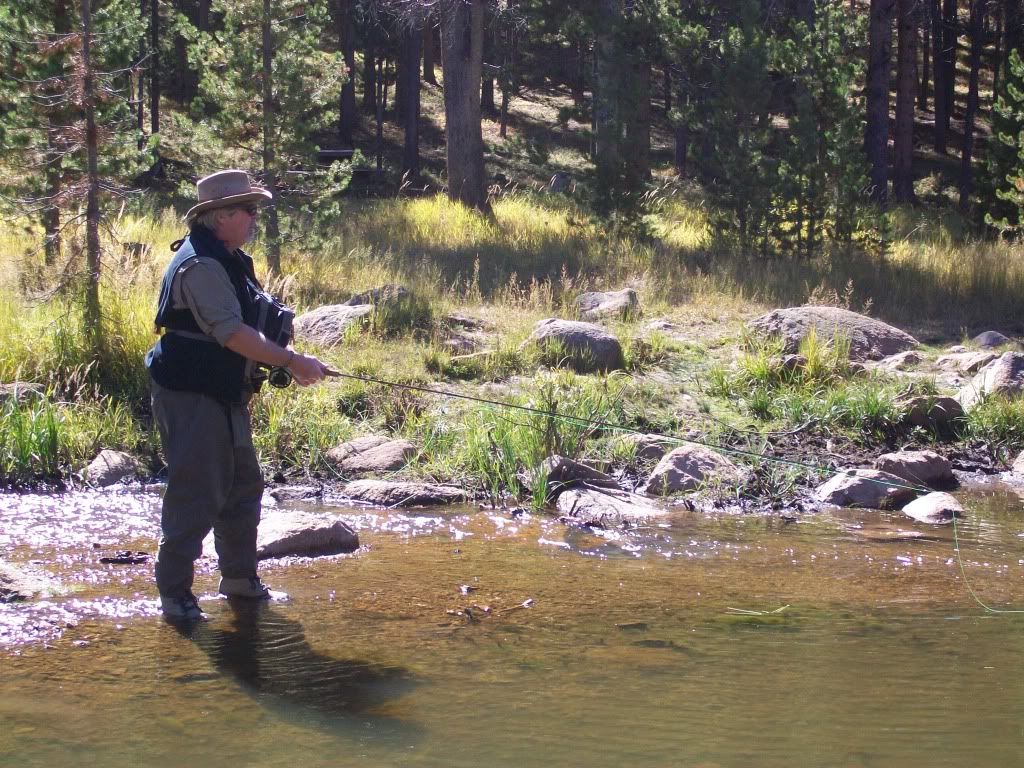
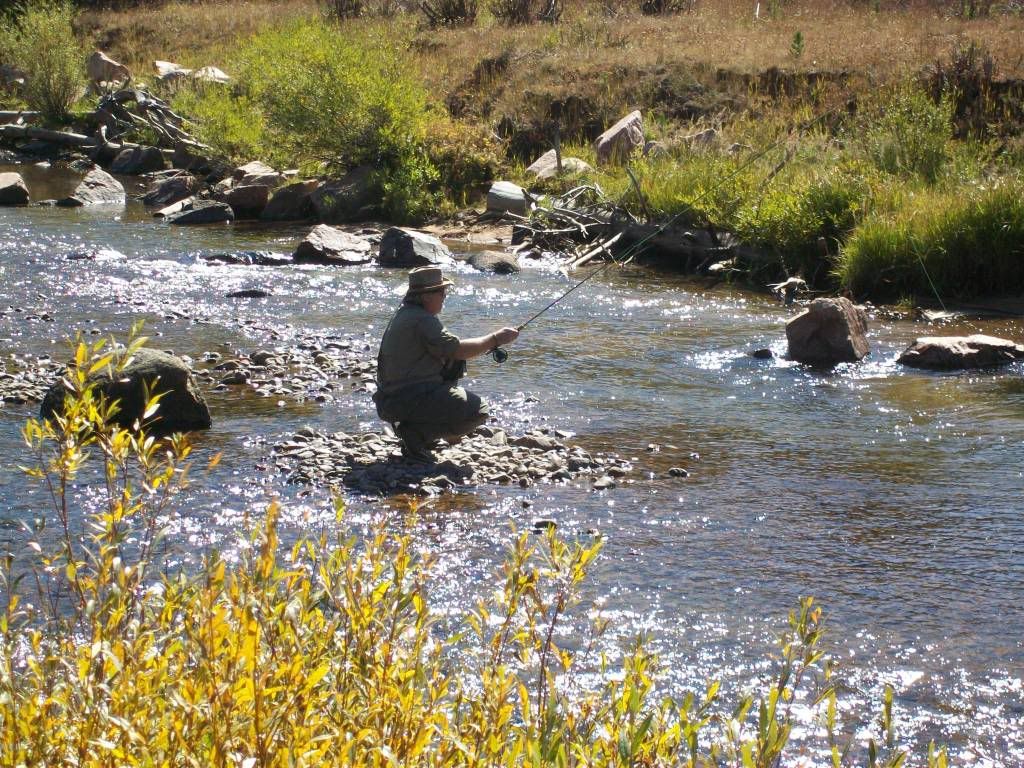
Now on to the rod for my father-in-law. We are going out to Wyoming to spend a week with them in Sept. Going to surprise him with this rod. They have a huge 5th wheel Travel Trailer they live in.
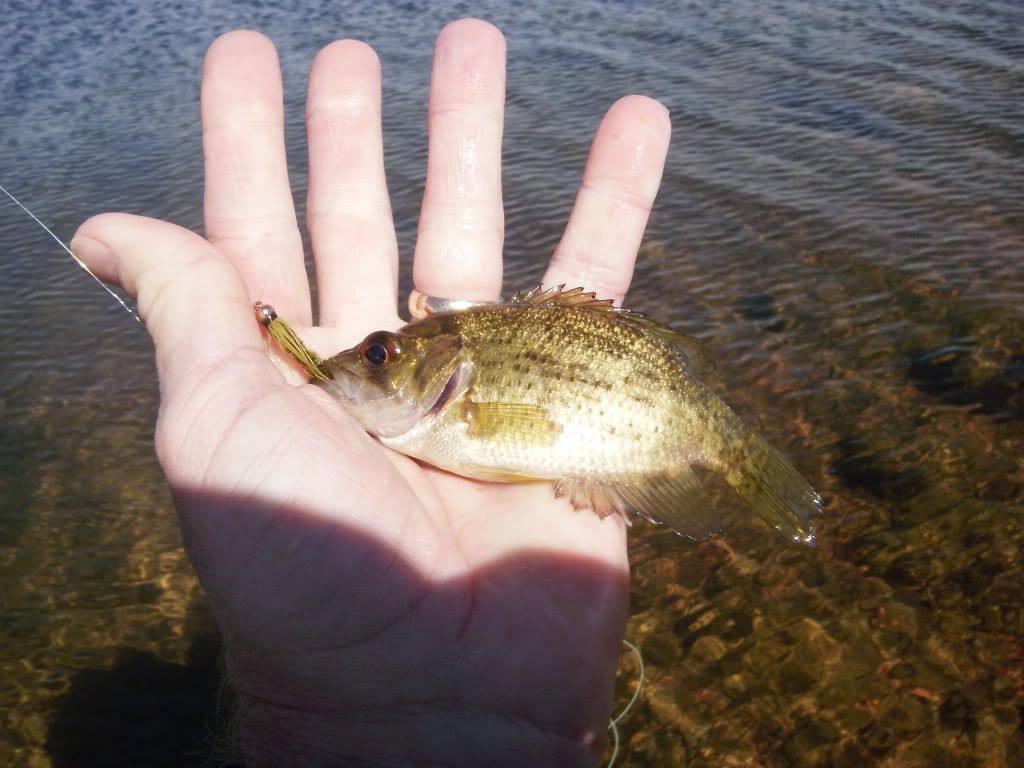
Spending the winters in Livingston Texas and then go out west for the summers. It will be my first time to Wyoming so really looking forward to it. Not to mention the fishing.

The six pieces of the blank.
Found the spine of the rod and got it marked then laid out the guide spacing with a china marker. Next I marked and taped the arbors for the reel seat and the handle section. I used masking tape instead of the drywall tape this time, on advice from several more experienced rod builders, thanks Billy , and Matt.


You can see the burl in the insert
 Here is the Handle and reel seat that I am using.  I picked up at the Rod Builders Expo in High Point earlier this year. Got these off the Mud Hole discount rack. I think that I got them for around $5.00 , pretty good . It looks like the wood is  maybe Burled Rosewood or Coralwood for the insert, the wood on the handle might be Rosewood,it not burled. Any way they look good together.

End cap for the Reel Seat

Arbors of masking tape. The larger build up is for the space
 between the insert and the threaded portion of the reel
seat.


Front of the reel seat
 The arbor for the end of the reel seat had to be reduced some. I neglected to allow for the end cap to fit. At least I found that in the dry fit and not after the epoxy was covering it.
Back with the section that had to be built up on the blank

Ready for dry fit

Dry fit looks good

Added thin arbors on the blank to center the handle


 The Veneer Calipers help to get the arbors sized right .
Used 220 sand paper to rough the finish for the epoxy to
grip

Using the ProBound for the reel seat and handle. Works good for me , like the consistency of it. Builds good between the arbors and doesn't sag. 


I have a ton of these little plastic plates, left over from middle daughters wedding. For the finishing plan to cover the plat with tin foil to dissipate the heat of the epoxy .


Ready to install the reel seat and end cap

 Taped up the threads on the reel seat. Had a little epoxy ooze through on the last one I did , not fun cleaning that out of the threads once it cured.
Holding the end cap on with more tape

All gooped up and ready for the handle.


Freaked a little when the epoxy came pushing through
the forward hole in the reel seat that the foot of the reel
goes in. Cleaned it out with paper towels then stuffed one in
it that is soaked in alcohol to keep it open.

Here it is all clamped up and ready to cure.


Now just waiting on it to cure , well that and the guide set that is on order from Mud Hole . Talked to them this morning , should be in to them any day now. So hopefully it will be here soon. Like I said need to finish this before I go to Wyoming in September.


I decided to go a head and put the tip top on the blank while I had the ProBond mixed up. I always seem to mix up too muck of that any ways.


I got it all gooped up but after putting it on the tip it felt like it needed a small arbor tot tighten up the fit.So pulled it off and wiped it down with a alcohol soaked paper towel and apply 2 wraps of masking tape and it fit like a charm.

So now just waiting on parts ...reminisces of my time back in the Army ....seems like we were always waiting parts.